Was up people.
This is my first tutorial to make animations using fighter factory.
Fighter Factory Tutorial For Animating
This is the tutorial on making gifs like the ones I made.
1.Google Fighter Factory and download it.
2.Get your sprite sheet.
3.Save your sprite sheet.
4. Open your picture editing software(photoshop,GraphicsGale or paint)
5.Open your sprite sheet with the editing software.
6.Once you've opened the sprite sheet in your editor your going to select the animation your going to do.I'll do a basic standing animation.
7.Then your going to select the square selecting thing.
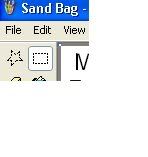
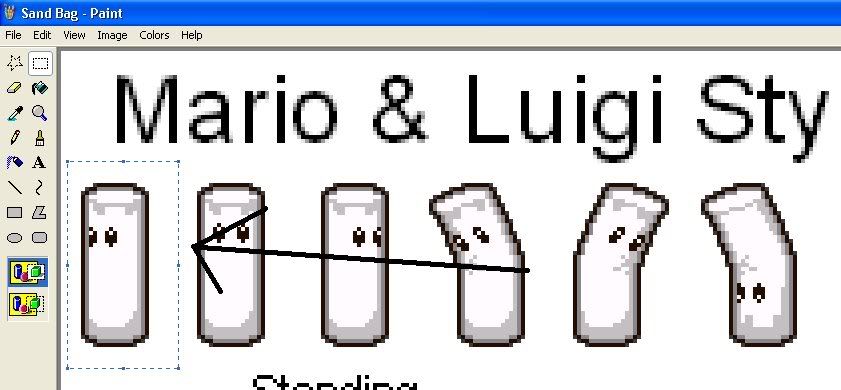
8.Now with the square selector we're going to select the firs frame of the animation.(zoom in if you want)
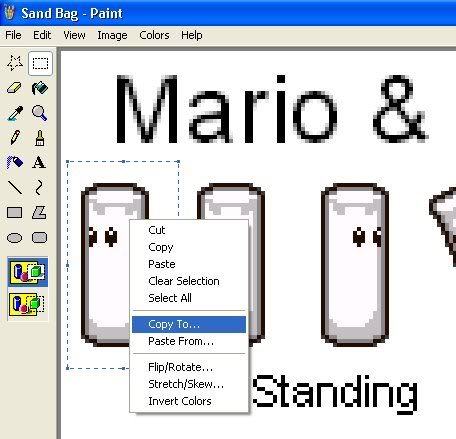
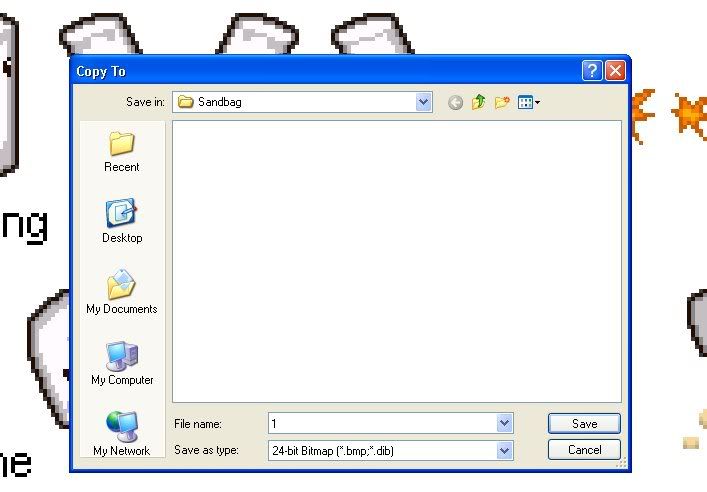
9.Now save that frame into your computer like so.( I'm using paint so I do this)
10.Do step 9 for every frame of the animation your going to do.
Now the interesting part. Fighter factory!!!!
11.Open Fighter factory.
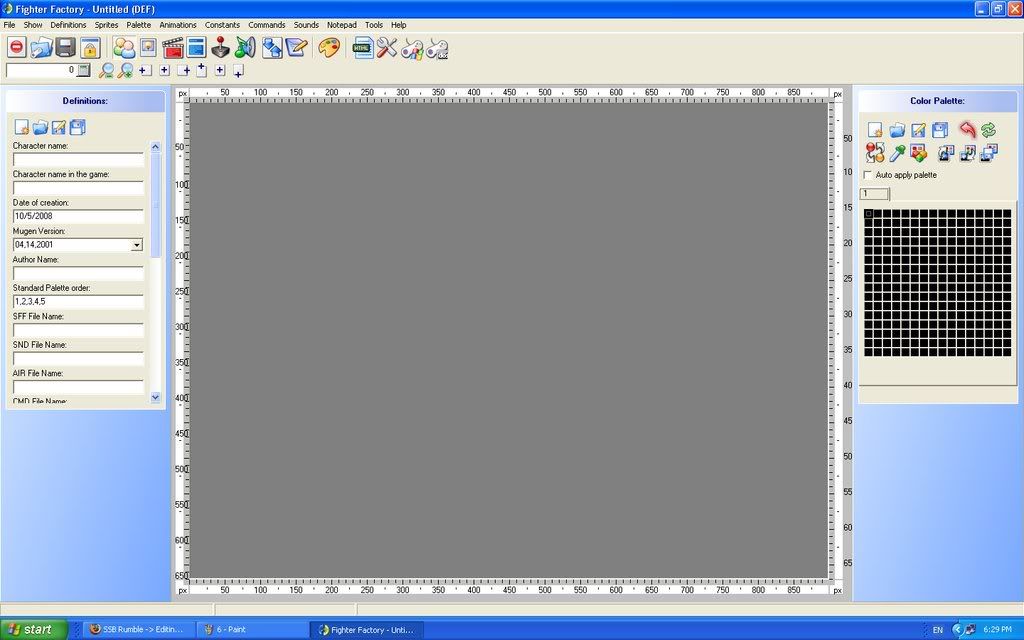
12.Fill in the blanks at the left.
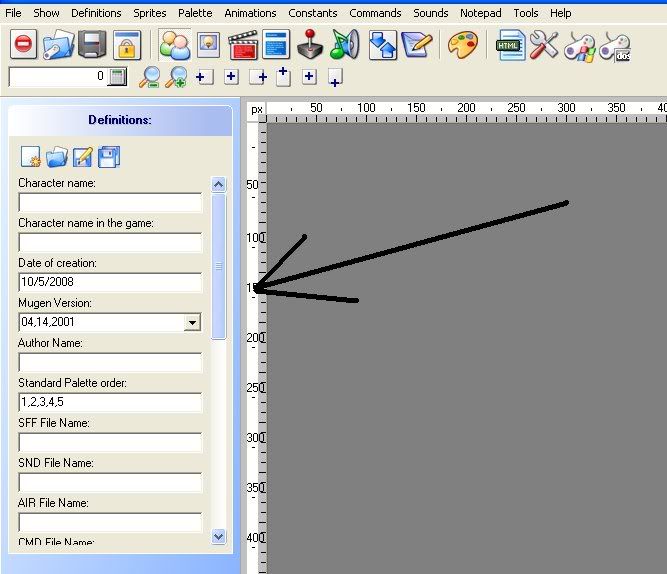
13.The character name is...
Well the character name.
14.Same on the character name in game
15.Now skip everything and go to standard pallet order.Here you'll have to put 1,2,3,4,5
16.The sff file is the character name with .sff at the end.
17.So is everything else but with the it's respective .format.( snd= .snd, cmd = .cmd and so on)
17.No do all that until you get to the Act Pallet thing. Here you'll put player.act or any other name but it has to have the .act at the end.
18.Now save it by hitting the save icon.
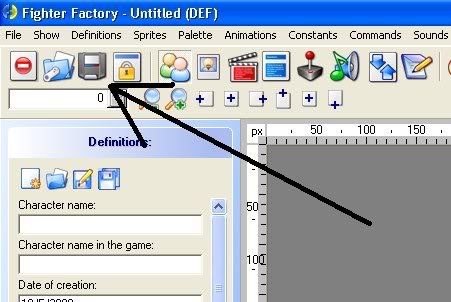
19.Save everything on a folder called the name of the character.
Ps: You must save everything as the name of the character with no errors so I suggest you copy the name of the character you putted in fighter factory and paste it every single time.
20.And click the shared pallete option since be are doing a character.
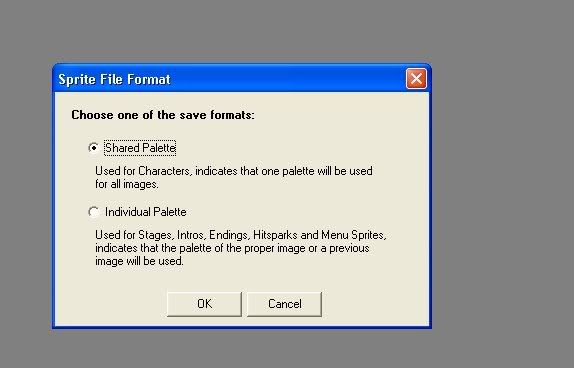
21.Close it and open it again but now instead of making a new thing you are going to hit file_ open recent- your characters name.def.
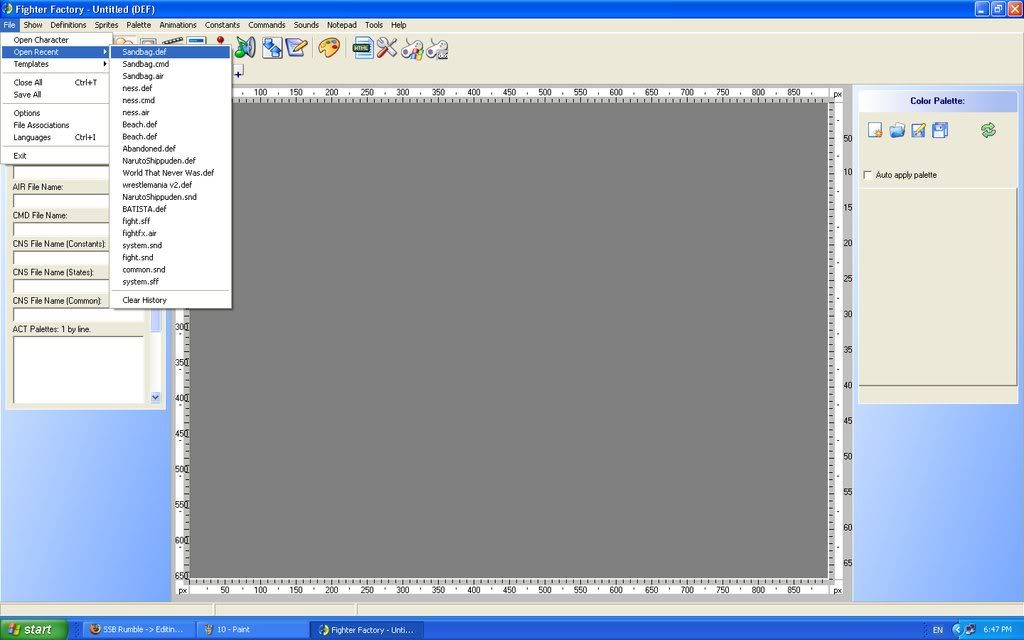
22.Now something that says list index out of bounds or whatever that doesn't matter.
23.Now hit the pallet icon.
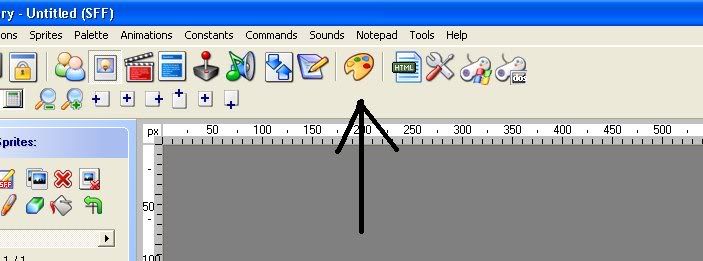
24.Something like this should appear.
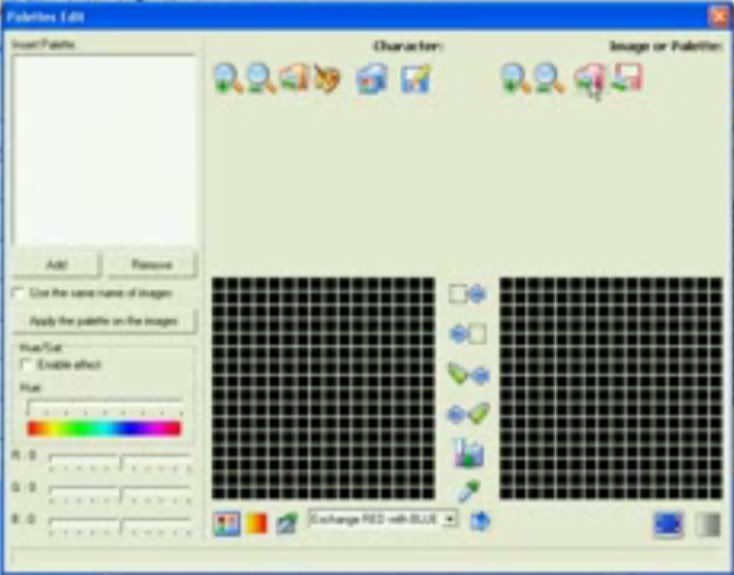
25.Now click this icon.

26.And go to the folder you saved you're frames(sprites they have to be in bmp format0Click this and choose bmp.
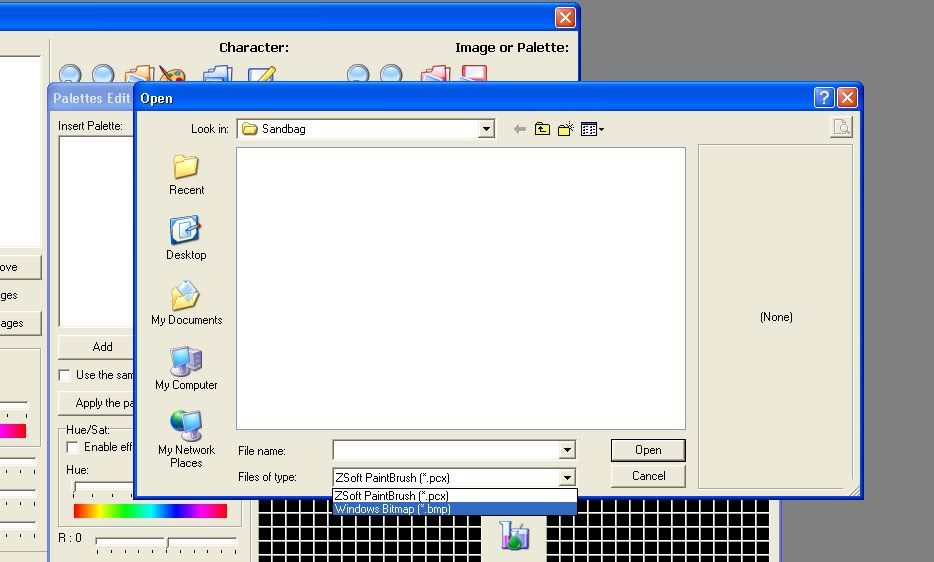
25.Once you clicked on that all of the sprite should appear. Now you'll choose a sprite that has all the colors that the other sprites ha.(like this one).
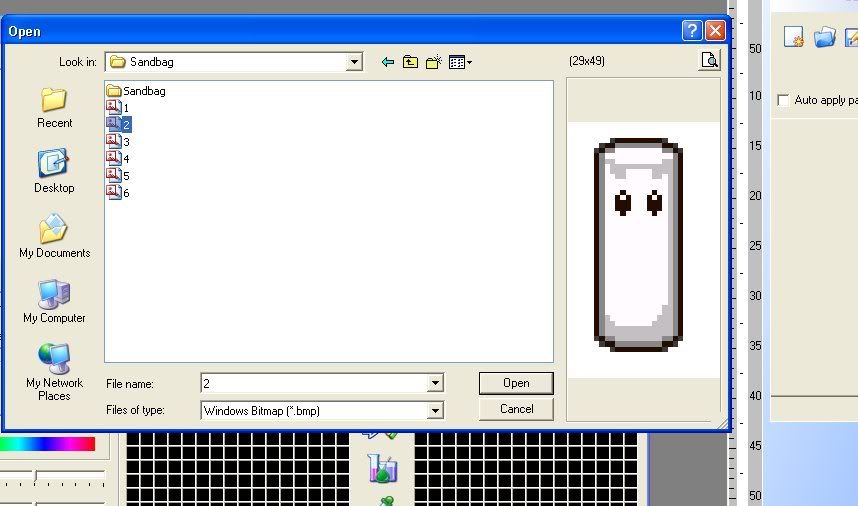
26.Now click on the sprite that you choose twice.
27.Once you don't that something like this is going to appear( make sure you color the background an ugly color like magneta).
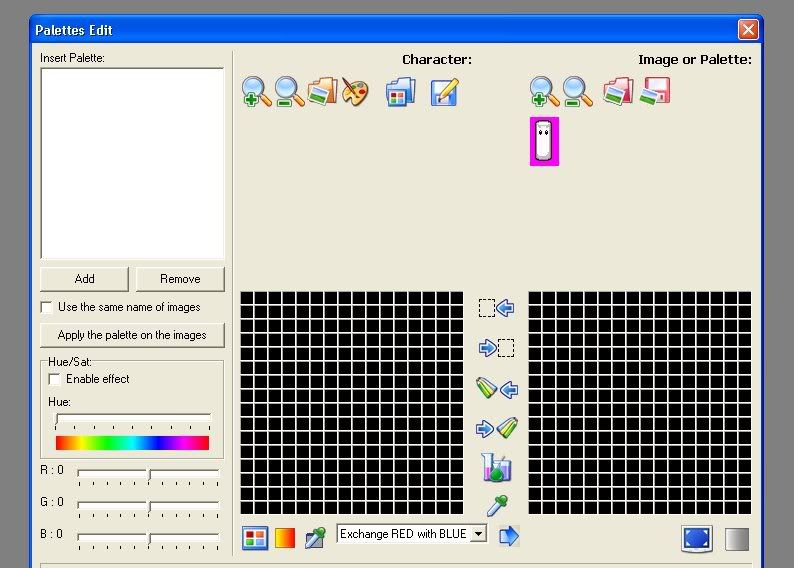
28.Click the blue tv icon.
29.Now you'll see all of the colors you're sprite uses.
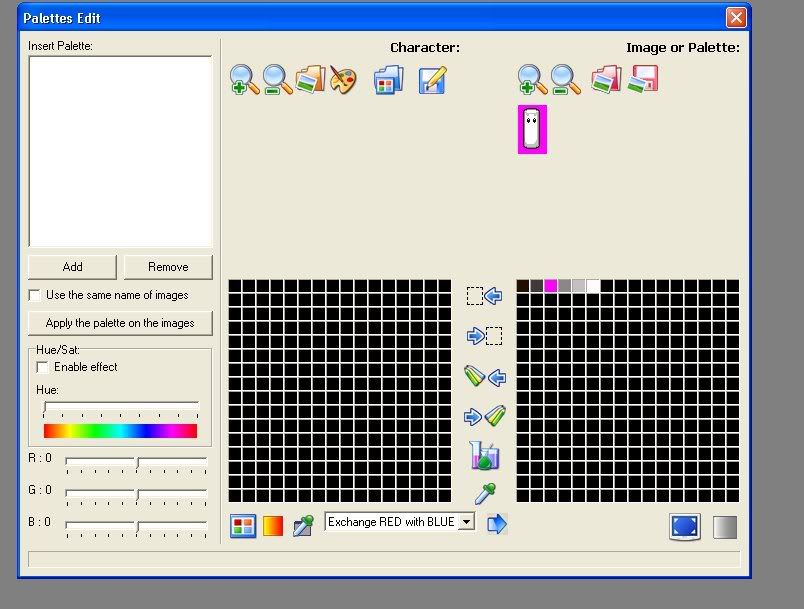
30.click on the color that you're background is and then click on the last little cube that's on the other side.
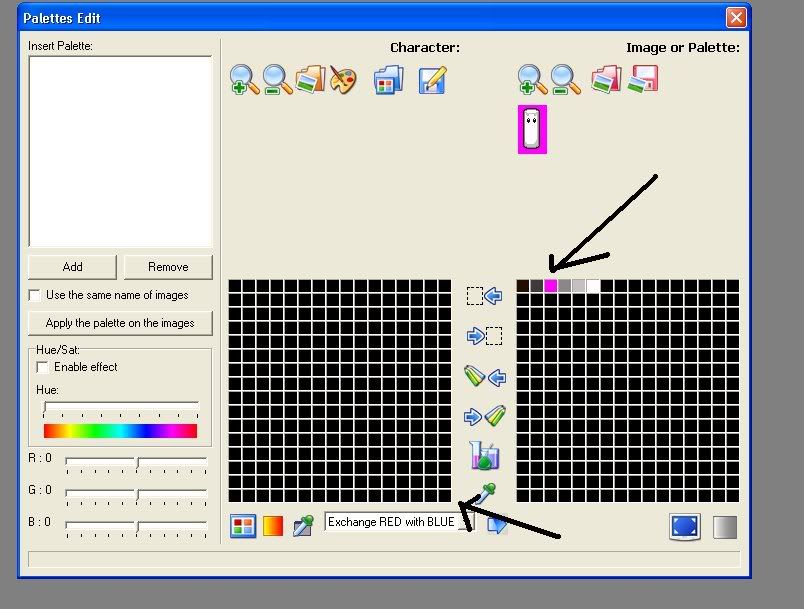
31.Now click this.

32.Now touch every single square thingie except the background color and click this.(To choose every color at once you have to push the control key and then click on the colors.
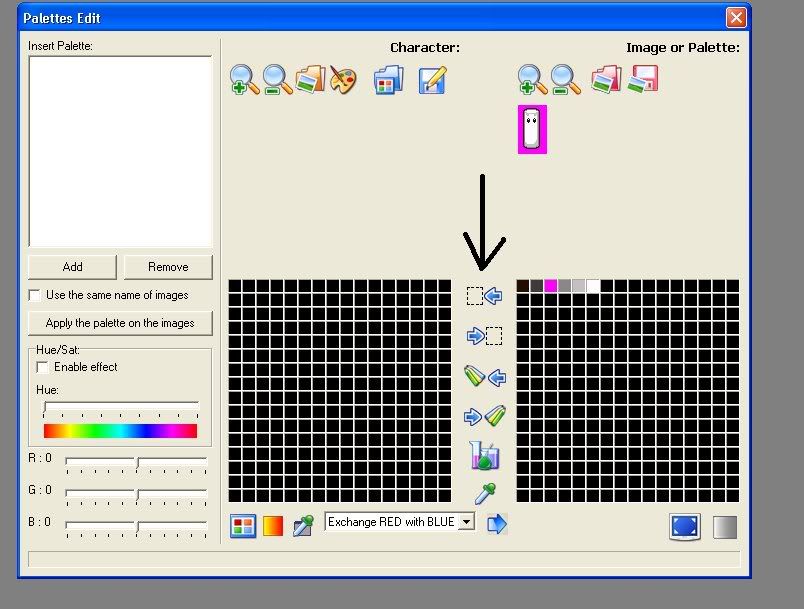
33.Then click the icon on step 31.
34.Now all you have to do is click the add thing at your left and add all of you're sprites.
35.Click on the use the same name of image and the apply the palletes on to the image.
36.To save it just write a 1 and hit save.
37.Then click the save icon which is the floppy with a pencil above it and go to the folder where you save the character name .def save this file as player.
38.Once you saved the palette and the new sprites close the palette viewer.
39.Click the save all icon
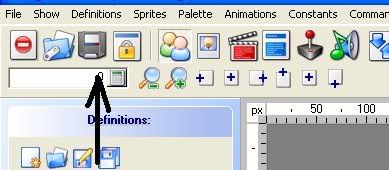
40.Now close fighter factory and open it again using the open recent , open your character.
41.You will notice how your palette changed from this
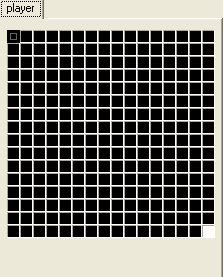
to this( with the colors of your character)
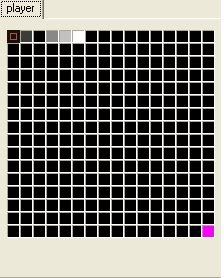
Now let's work on the animating
IF you have everything correct you keep reading this tutorial if you have it all messed up read the tutorial again.
42.click on this.
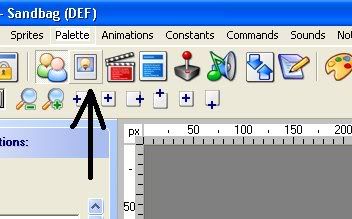
43.You should see something like this so click here.
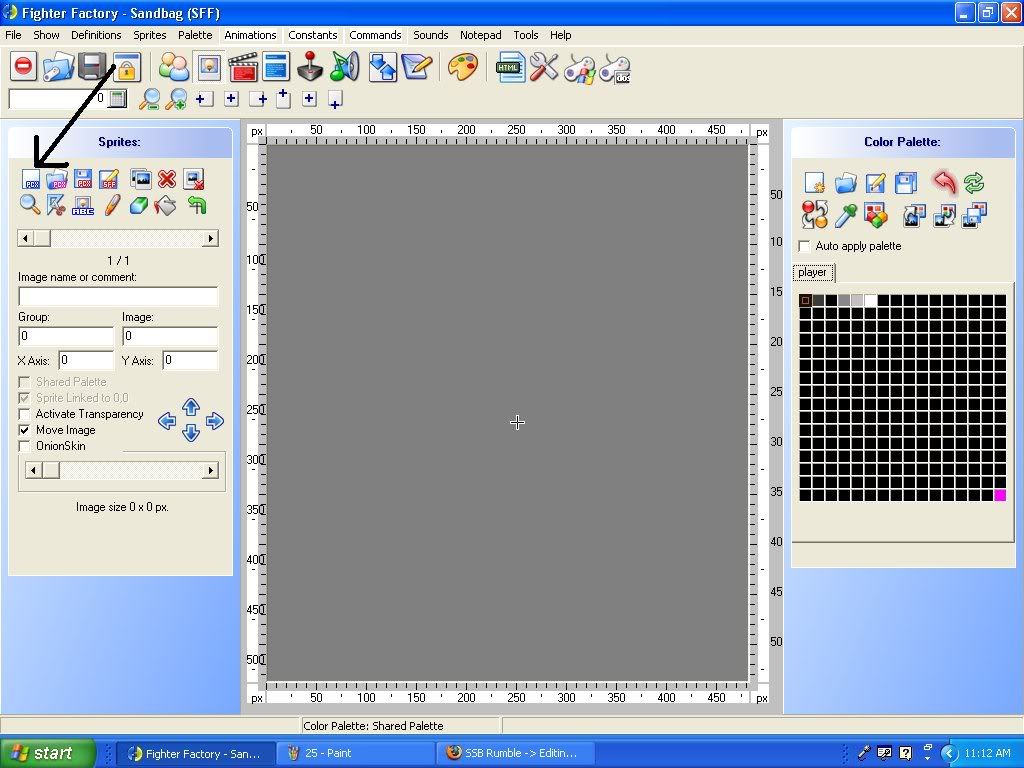
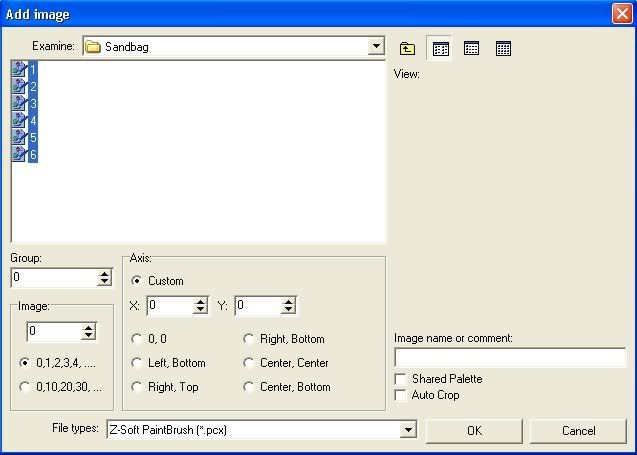
44.Look for the folder with the sprites that have the palette on(the pcx ones) and choose all of them and hit ok.
45.you should see your sprite by clicking the left and right arrows on this time line.
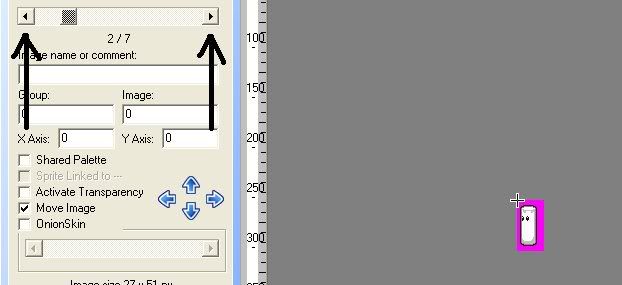
46.Inspect your images and then hit the activate transparency.
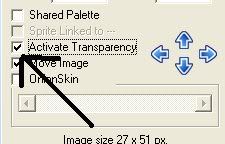
47.Now your sprite will appear with no background.
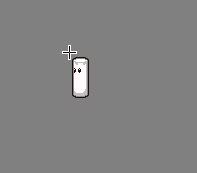
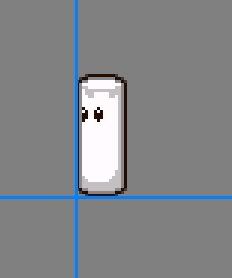
48.Since we don't want to make an animation where the sprite is bouncing all over the screen, we're going to hit show-guide lines.
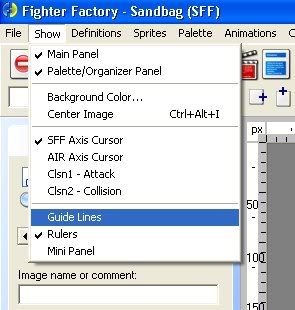
49.You will now see two blue lines on the screen.
50.Hit the magnifying glass with the plus sign on it 3 to 4 times depending of how accurate you want to be.
51.Now align the blue lines with the cross by click on a line and dragging it to the cross.
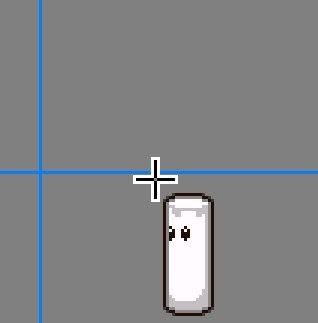
52.After you have aligned the blue lines with the cross we'll go to the show tab and click on sff axis.
53.Now you will not see the cross anymore.
54.Now we align the sprite with the guide lines so the sprite is on the same place while doing the animation. To do this you click on the sprite and drag it to where you want it.
55.Since we finished aligning the first sprite we go and align the second sprite to do this we click the the left arrow on the time line(step 45).
56.When you finish aligning every thing click on the film icon.
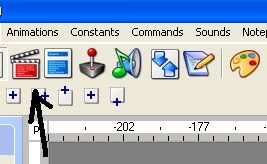
57.Now you'll see this
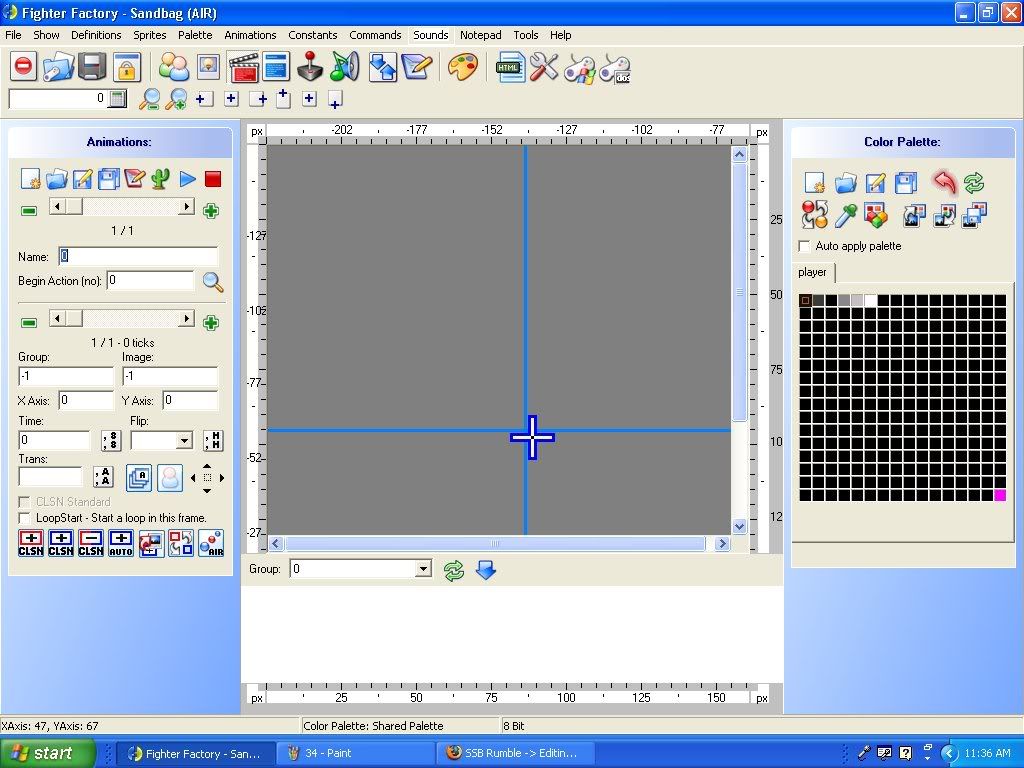
58.Zoom out by hitting the magnifying glass with the minus sign.
59.Now click the group 0 tab and hit group 0.
60.You will now see your sprite here.
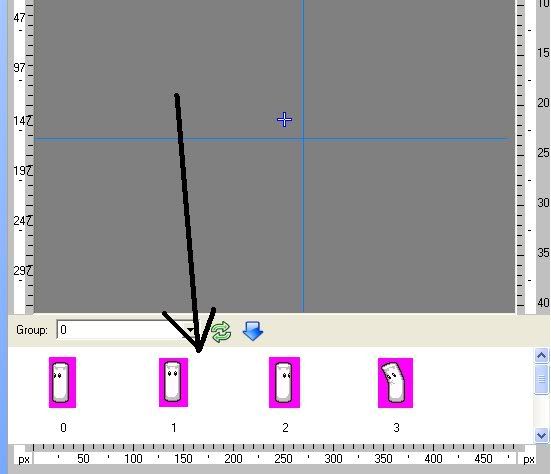
61.now right click on a sprite and hit add group to air.

62.Once you clicked on that you will see your sprite on the screen.( to move them click the left or right arrow on this time line)

63.As you can see if you hit the play button your screen empties and you can't see anything. That's because the first sprite is a blank sprite that doesn't do anything so what you will have to do is click the stop button (red cube)and go to the first sprite and then hit the minus sign on the bottom time line.
64.Now if you hit play you will see your sprites moving.
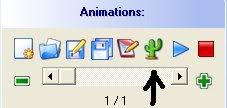
65.Now hit the cactus icon on top of the top time line.
66.You'll see something like this.
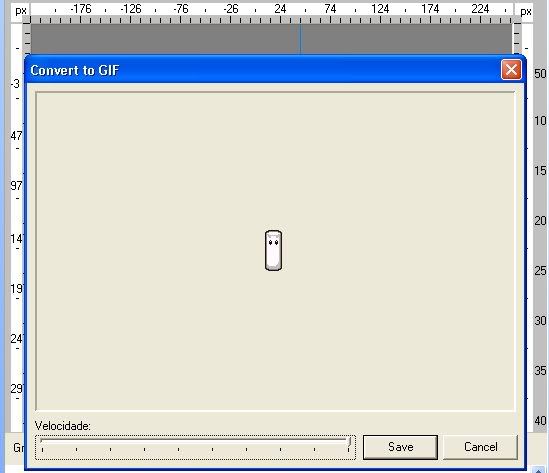
67.Edit the speed of your animation by click on the line in the time line and moving it from left to right (left is fast right is slow).
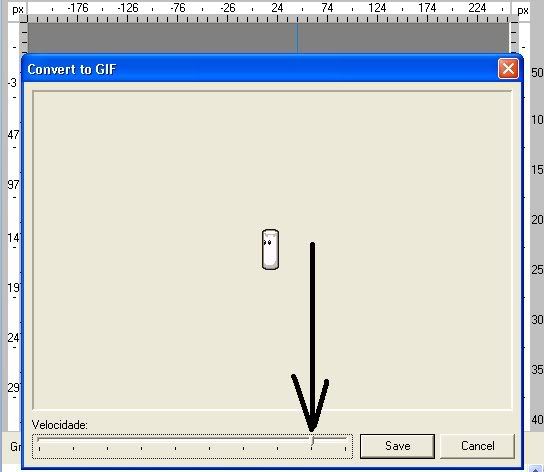
68.After you putted the right speed hit save, save it and you'll have an awesome animation.
PS:If your doing an animation where the the sprite moves from one place to another you'll have to click on the onion skin (below the activate transparency thing) and move him depending on the las frame but if your doing this you'll have to move him one frame click the onion skin twice and then move the other sprite.
Hope this helps!!!!!!!!